
Tips for Optimizing Renders in Blender3D

Rendering in Blender can be both a rewarding and time-consuming process, especially if you’re aiming for high-quality results. The trade-off between render quality and time can be tricky to navigate, especially if you’re working with limited hardware or tight deadlines. Fortunately, Blender offers a wide range of tools and settings to optimize renders without sacrificing quality. In this comprehensive guide, we’ll cover the essential tips and techniques to speed up your render times, reduce noise, and get the most out of both Cycles and Eevee render engines.

Understanding Blender’s Render Engines: Cycles vs. Eevee

Before diving into optimization tips, it’s important to understand the two main render engines in Blender: Cycles and Eevee.
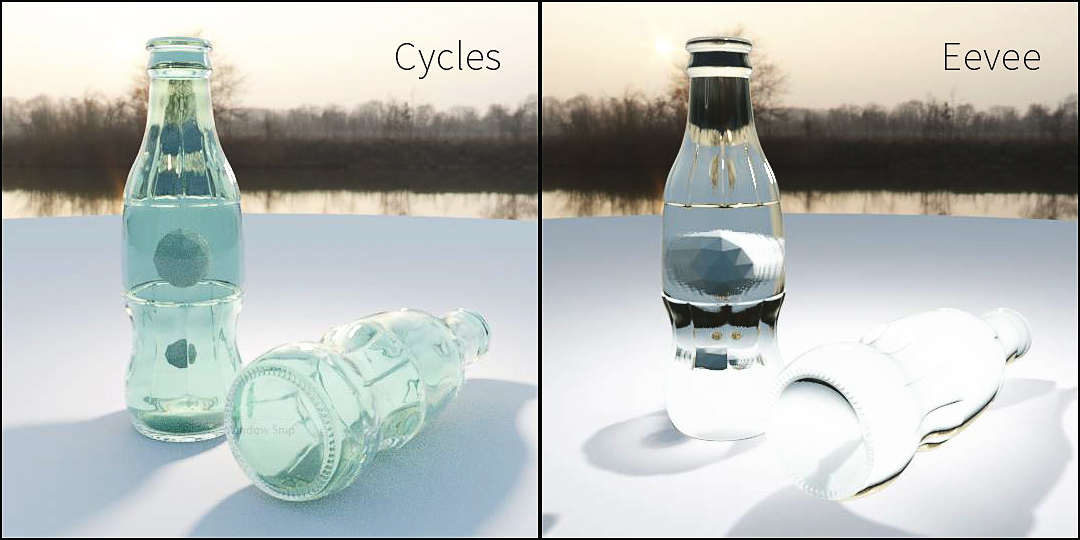
Cycles
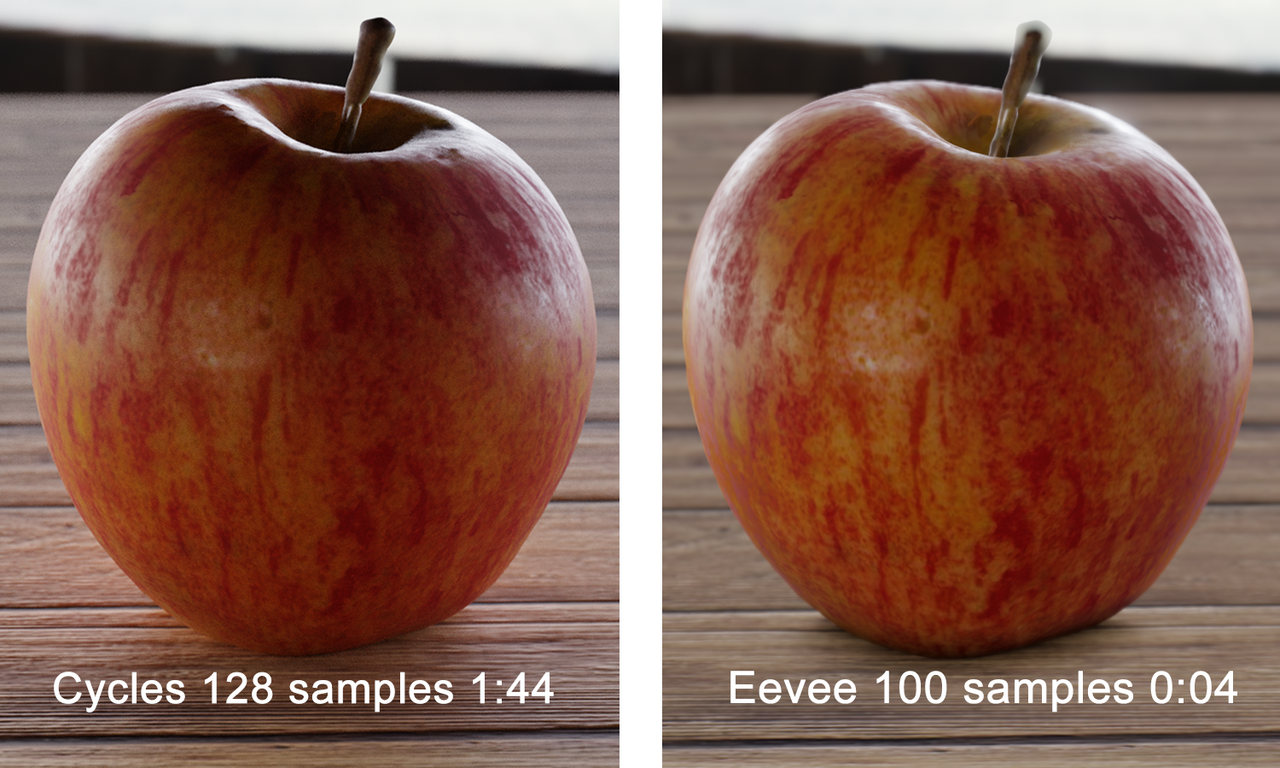
Cycles is Blender’s physically-based path tracer, designed for creating highly realistic images. While its results are impressive, it can be quite resource-intensive, making it slower, especially on complex scenes.
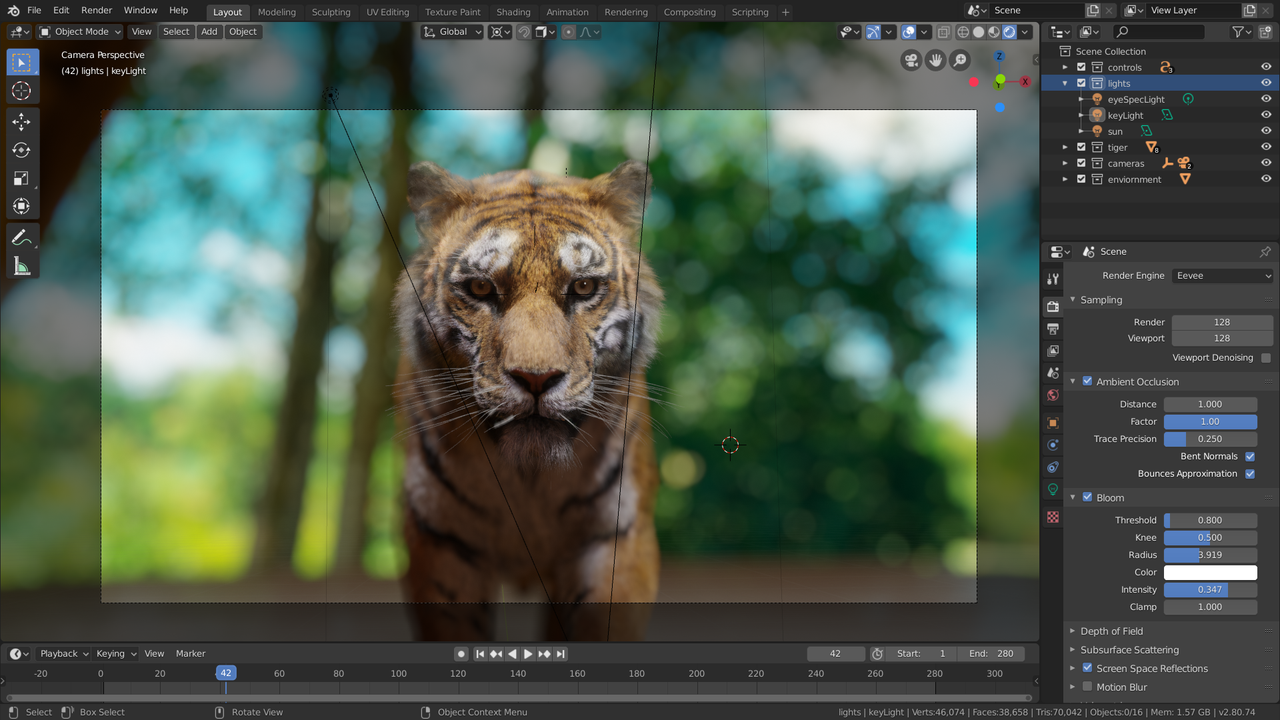
Eevee
Eevee, on the other hand, is Blender’s real-time render engine. It’s designed to be faster and more efficient, ideal for previewing scenes, creating animations, and producing stills where photorealism isn’t the main goal. However, Eevee does not support full global illumination, which limits its realism in some scenarios.
Choosing the right engine depends on your project’s needs. For high-end production renders, Cycles is the go-to, but if speed is the priority, Eevee may be a better fit.
Adjusting Render Settings for Speed and Quality
Resolution and Sampling
- Resolution: A simple yet effective way to speed up renders is by reducing resolution. Rendering at 50% of the final resolution and scaling it up in post can save time. For final renders, always aim for the highest resolution your hardware can handle.
- Sampling: In Cycles, adjusting the sample rate directly affects render time. More samples yield better results but take longer. To balance speed and quality, start with low samples for preview renders (100–200) and ramp them up for final renders (500–1000+).
Denoising Options
Blender comes with several denoising tools:
- NVIDIA OptiX Denoiser: Fast and effective for real-time denoising on supported GPUs.
- Intel Open Image Denoise: Great for CPU rendering.
- Blender’s Built-in Denoiser: Works well in most scenarios but can sometimes blur details.
Case Study: A VFX artist working on a short film used the OptiX denoiser in Cycles to halve their render time while maintaining high-quality results.
Optimizing Lighting for Faster Renders
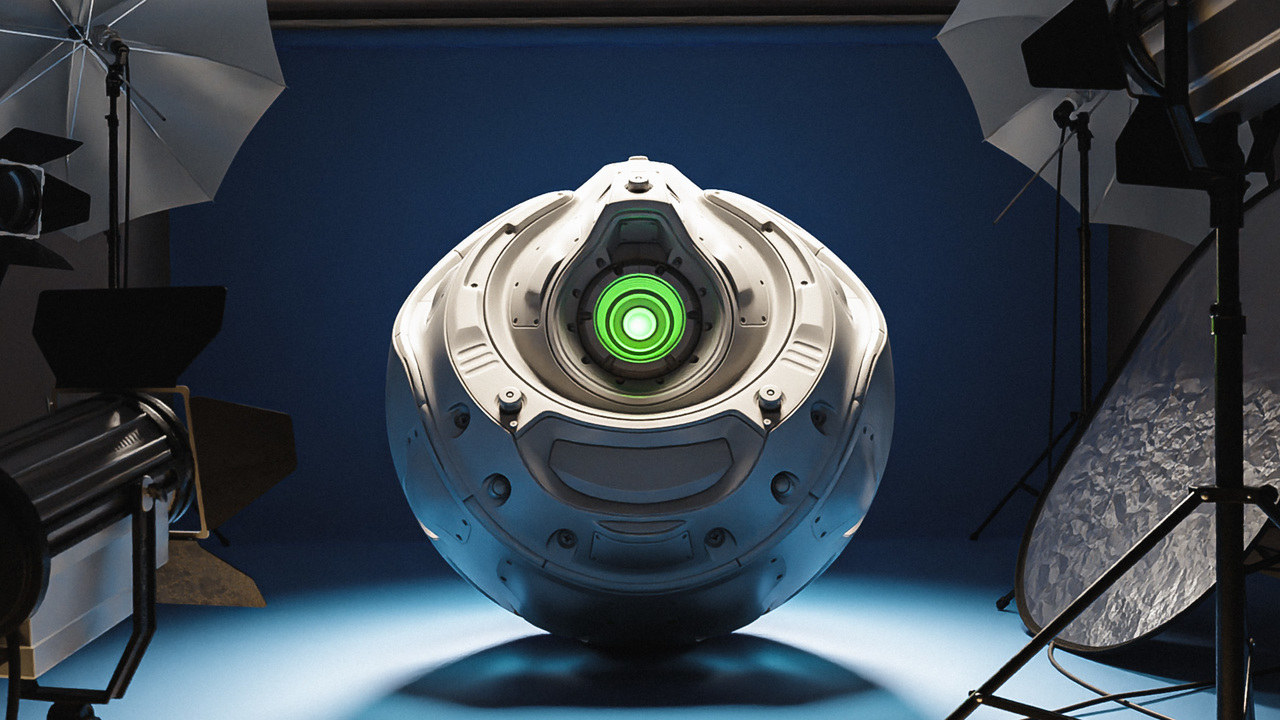
Use of HDRI and Area Lights
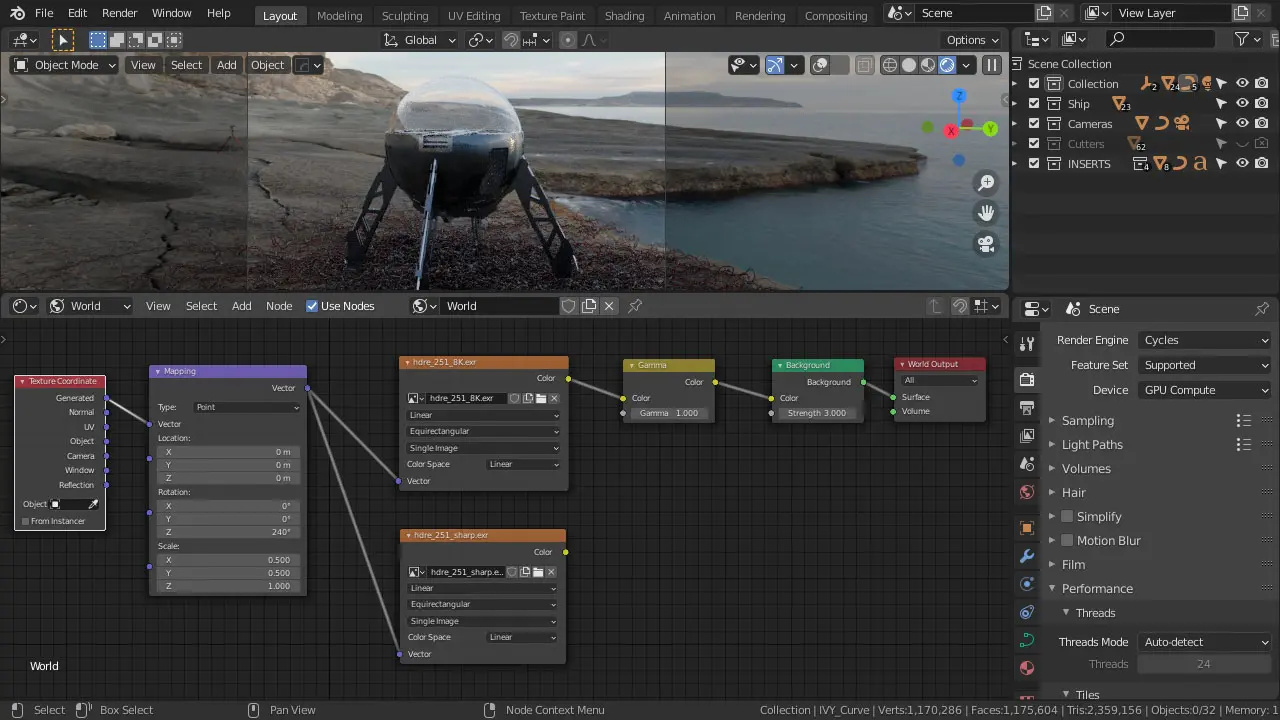
Lighting is one of the biggest factors affecting render times. Using HDRi (High Dynamic Range Image) for environment lighting is an efficient way to create realistic lighting with minimal setup. In addition, area lights (instead of point or spotlights) cast softer shadows and reduce noise, which can help speed up render times.
Importance of Light Paths

Light paths in Cycles dictate how light bounces around your scene. Reducing the number of bounces can dramatically speed up renders:
- Max Bounces: Lowering this from the default 12 to around 4-6 can save a lot of time, especially in interior scenes.
- Transmission and Reflection Bounces: Set lower values for glassy or transparent materials to reduce noise and speed up the process.
Example: An architectural visualization artist used HDRi lighting and reduced light bounces to render an interior scene twice as fast without losing much visual quality.
GPU vs. CPU Rendering: Which is Better?
Blender allows you to choose between CPU and GPU rendering, with most users preferring GPU for its faster processing times.
GPU Rendering
- Pros: Faster for most tasks, particularly with complex scenes and large textures.
- Cons: Limited by the VRAM of your graphics card.
CPU Rendering
- Pros: Handles very large scenes and textures more efficiently.
- Cons: Generally slower than GPU rendering.
If you’re using a GPU, make sure to enable CUDA (for NVIDIA GPUs) or OpenCL (for AMD GPUs) in the preferences. Blender also supports multi-GPU setups, which can significantly improve render times.
Tips for Reducing Noise in Cycles Renders
Noise can be a major issue in Cycles, particularly in scenes with complex lighting or reflective surfaces. Here are a few key techniques to reduce noise and improve render quality.
Denoisers
Blender’s built-in denoising tools (mentioned earlier) can significantly reduce noise without having to increase sample counts. Combining this with post-processing techniques can produce clean results even at low sample rates.
Sample Optimization
Instead of increasing global sample rates, use adaptive sampling to allocate more samples to areas that need it most (such as shadows and reflections), and fewer to flat, well-lit areas. This can drastically reduce render times while maintaining image quality.
Example: A freelance artist rendering an animation for a commercial product video used adaptive sampling to reduce render times by 30% while still maintaining crisp shadows and reflections on glossy surfaces.
Eevee: Real-Time Rendering Tips
While Eevee renders faster, it comes with limitations. Here’s how to get the best performance and quality out of Eevee.
Shadows and Reflections
- Shadows: Enable Contact Shadows to improve shadow definition, but keep resolution moderate to avoid slowing down renders.
- Reflections: Use Reflection Cubemaps sparingly, as they can increase render times. Instead, rely on Screen Space Reflections for real-time reflections at a lower computational cost.
Volumetrics Optimization
Eevee supports volumetric effects (like fog and smoke), but these can be slow to render. To speed up rendering:
- Reduce the Volumetric Samples.
- Lower the Volumetric End distance to prevent the calculation of distant, unnecessary volumes.
Scene Optimization Techniques
Reducing Polygon Count
Heavy geometry can significantly slow down your renders. Use Decimate Modifier to reduce polygon count, especially on background objects. Retopologizing high-poly models for cleaner topology can also improve performance.
Instancing and Proxy Objects
Use instances for repetitive objects like trees, chairs, or buildings. Instead of loading multiple copies of the same object, Blender will only calculate it once, saving both memory and render time.
Case Study: An animation studio working on a large-scale urban environment used instancing to populate city streets with buildings, trees, and vehicles. By using instances and low-poly proxy objects, they managed to cut render times by over 50%.
Case Studies: Real Projects with Optimized Renders
- Architectural Visualization with Cycles: A studio working on a large apartment complex used light path optimization and adaptive sampling to render their scenes twice as fast. By reducing the number of light bounces and using the OptiX denoiser, they maintained high-quality images while slashing render times.
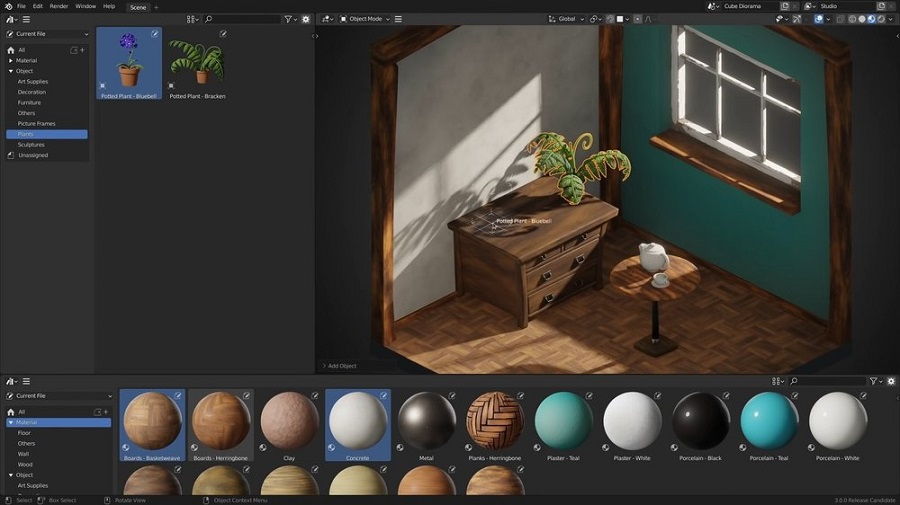
- Game Asset Creation with Eevee: A game developer used Eevee’s real-time rendering capabilities to preview and adjust materials and lighting for in-game assets. By leveraging screen space reflections and reducing shadow resolution, they achieved near-final quality renders in real-time.
Conclusion
Rendering in Blender can be a demanding task, but with the right optimizations, you can speed up the process significantly without sacrificing quality. Whether you’re using Cycles for photorealistic renders or Eevee for real-time rendering, adjusting render settings, optimizing light paths, and leveraging denoisers can make all the difference. By applying these tips, you’ll be able to cut down on render times and get better results, even if you’re working on resource-intensive projects.
References
In 3D modeling, creating visually stunning models is not just about aesthetics—it’s also about how efficiently and correctly the model…
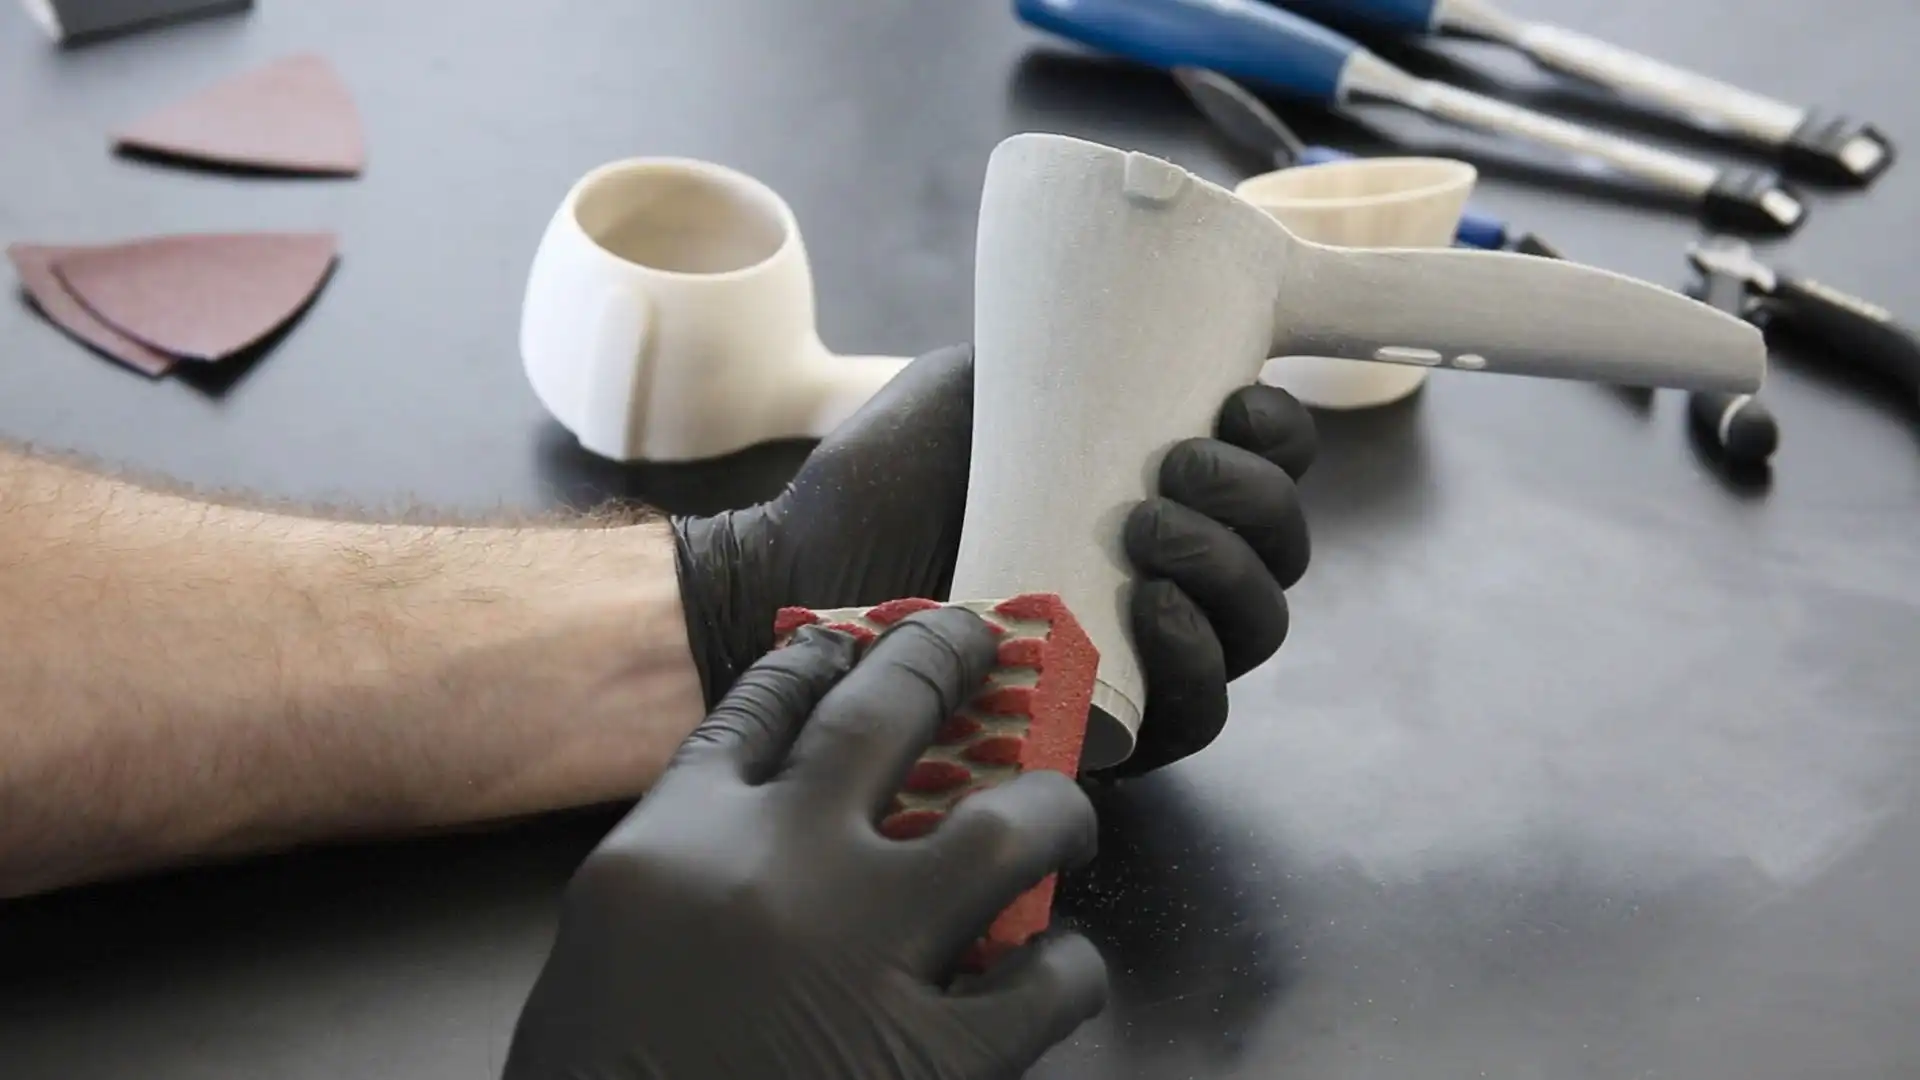
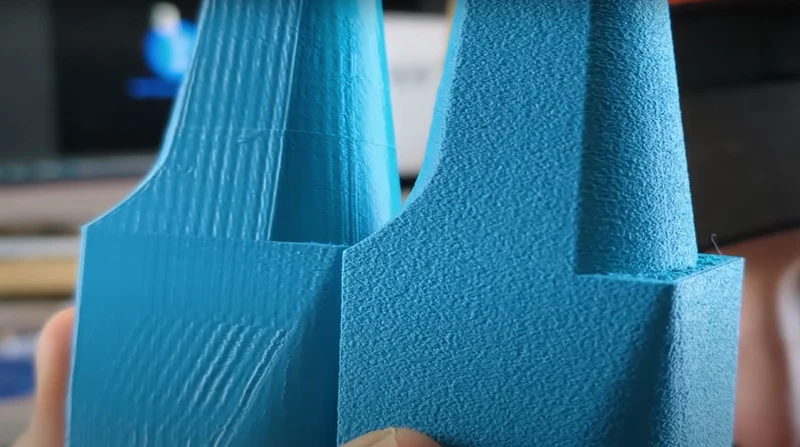
While 3D printing produces amazing results, your print often needs post-processing to achieve a professional, polished look. Whether you’re working…